
(No Crafting Degree Required)
* Heads up: links marked with an asterisk (*) are affiliate links, meaning I may earn a small commission if you shop through them, at no extra cost to you. I only link things I'd actually use myself. No pressure, just options if you need them. *
Trash to Treasure:
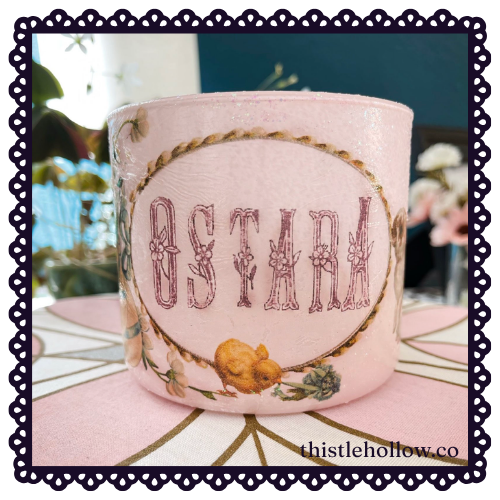
A Decoupage Candle Jar for Ostara
Rebirth. Renew. Refresh. Rejuvenate. That's the whole vibe of Ostara, and honestly, it's the whole vibe of spring cleaning too. So why not combine them? This project takes an empty candle jar that would've otherwise gone in the recycling bin and turns it into something worth lighting up your altar or windowsill.
The Magic Behind the Materials
Before we get glue on our hands, let's talk about why this project fits Ostara so well. We're not just decorating a jar. We're taking something used up and giving it new purpose, which is the whole point of the season.
Magical Correspondences:
Rabbits - fertility, abundance, quick new beginnings
Eggs - potential, hidden growth, rebirth
Budding flowers - hope, patience rewarded
Tissue paper - the thinning veil between winter's stillness and spring's return
Glitter or shimmer medium - sunlight strengthening as the equinox tips the scales
If you want the full rundown on what Ostara actually celebrates, I break it down here: [link to Ostara 101 post].
Symbolism's great and all, but it doesn't glue itself to a jar. Let's get started, shall we!
Step 1: Clear Out the Wax
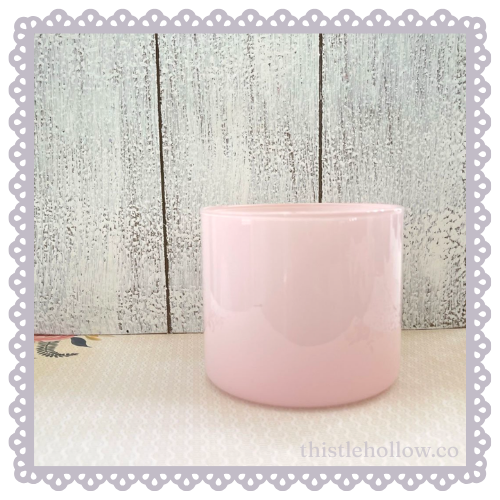
I found a simple trick that makes this project so much easier! All you have to do is put the jar candle with the leftover wax that didn’t burn away in the freezer for a couple of hours. The cold makes the wax contract and pull away from the glass, so it basically pops out in one piece. No scraping, no swearing at a butter knife. Here is the post from Instrupix [pop-ups and flashing ad alert, sorry]
Step 2: Banish the Sticker Residue
Peel off any labels and use warm, soapy water to get the sticky labels off, or I personally love *Goo Gone for stubborn sticky stuff that soapy water wasn’t able to pry off. Be careful not to scrub too hard. Being too aggressive with scrubbing may take off a design or paint you want to keep on your candle jar. Ask me how I know. - Then, all that’s left is to pop out the metal wick holder with a butter knife or spoon.
Step 3: Pick Your Spring Symbols
Once your jar is squeaky clean, it's ready for decoupage. Look for images that say "Ostara" to you. I went with rabbits, eggs, and budding flowers, pulled from vintage graphics on The Graphics Fairy. Pinterest is also a goldmine, or you can hand-letter or draw your own if you want it fully custom.
Step 4: Print on Tissue Paper
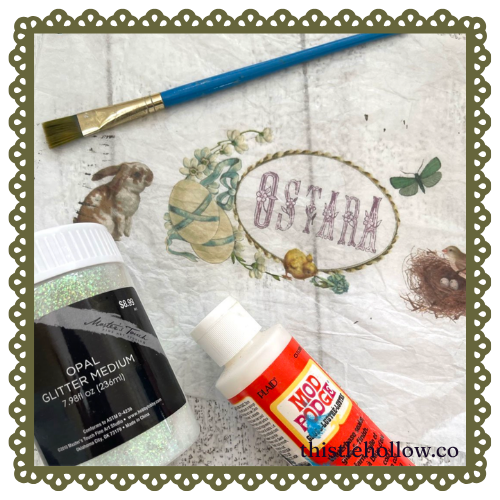
This is the step that makes the whole thing look intentional instead of like a middle school art project.
Cut tissue paper to standard printer paper size (8.5 x 11 inches)
Tape it flat against a sheet of regular printer paper, shiny side up, no wrinkles
Load it into your printer and print like normal
Peel the tissue paper off carefully and let it dry for a few minutes
Want a longer walkthrough with photos? I cover this same technique in my Halloween candle post: [insert Halloween candle post link here].
Step 5: Decoupage and Dry
Cut out your images and glue them onto the jar with *Mod Podge (or plain white glue mixed with a little water works perfectly too). I like to top mine off with a glittery matte medium because I never met a shimmer I didn't like.
Tissue paper is forgiving in one way and unforgiving in another: it hugs the curve of the jar beautifully, but it also tears if you fuss with it too much once it's wet. Place it, smooth it gently, and leave it alone.
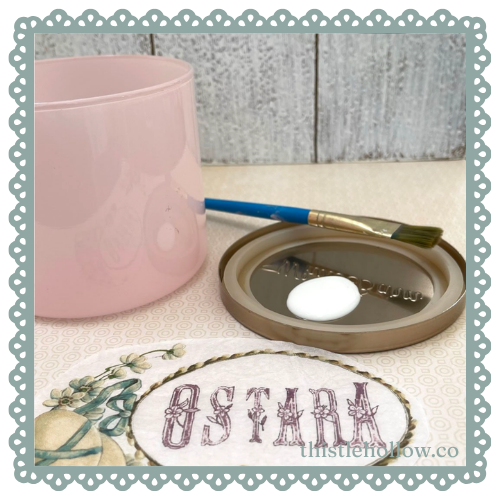
Art Tip: Smooth outward from the center as you press the tissue down. It mimics the outward, expanding energy of spring instead of fighting against it.
Let the jar dry completely, until it's no longer tacky, before adding a tealight. If you're not 100% sure about fire safety around a decoupage surface, use a *battery-operated tealight instead. Still cute, zero stress.
Display
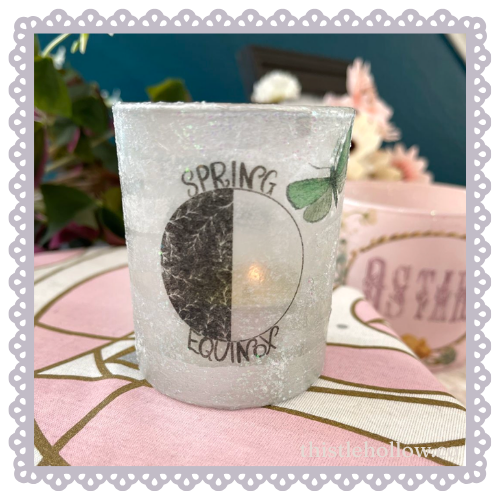
Once your jar is finished, group two or three together on a windowsill where the light can hit them, use one as a centerpiece for an Ostara gathering, or set it on your altar next to real or paper eggs.
Hunt your own down on Pixabay, Creative Fabrica, Free Pretty Things for You, The Old Design Shop, Digital Scrapbook, and, as previously mentioned, The Graphic Fairy
OR download the graphics for this exact project are linked below↓,
A little blessing for your jar:
“May this light remind you that nothing used up is ever really finished. It’s just waiting for its next form.”
.
[ * Asterisked links above are affiliate links — small commission for me, zero extra cost for you, only stuff I actually like.]